Simply because nowhere is it easy to find what the process of remediation looks like, we’re going to explain it super simply here.
Step 1 – Discovering contamination
Suppose you have a nice home and decide to build out considerably. When you applied for a permit, you were told that you must have an exploratory soil test done to meet the requirements of the permit application.
Step 2 – Soil Survey
You therefore have an environmental consulting firm conduct an exploratory soil survey. The company will visit you and take test samples in different areas of your plot. Three weeks after the exploratory soil survey, the report arrives. Unfortunately, serious soil contamination has been identified which is so bad that it must be remediated.
Step 3 – Contamination identified
You decide that you indeed want to remediate and therefore you report to the “competent authority” (=most often the “Environment Department”) that you want to do so. We call this notification a “BUS notification. BUS stands for Decree on Uniform Remediation. Sometimes remediation can be done without a permit to begin remediation and sometimes it must be done with a permit. Whether or not this must be done depends on the severity and extent of the contamination. Now (in 2023), if there is more than 25m3 of contaminated soil or more than 1000m3 of contaminated groundwater, you must remediate with a permit. But that could very likely change completely with the new environmental law in 2024.
Step 4 – Remediation
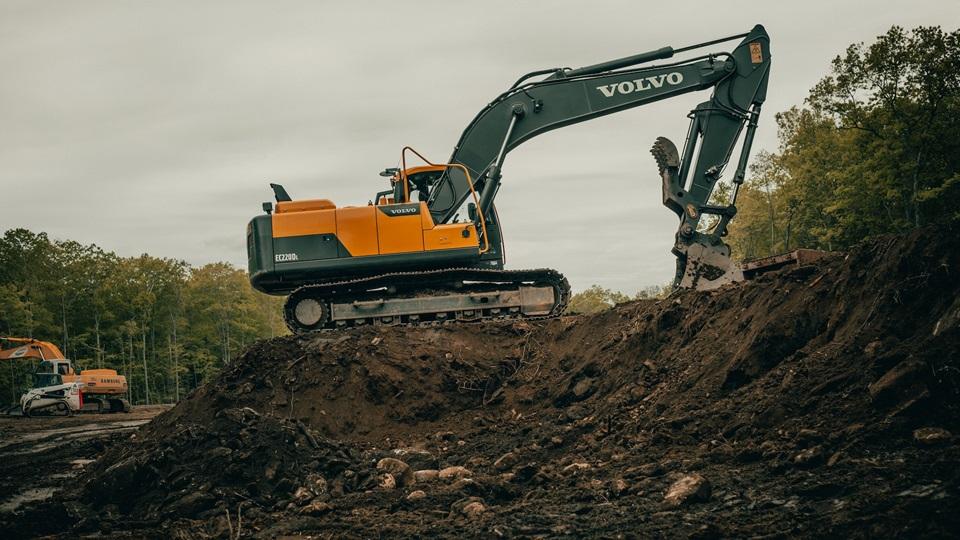
Then find a certified remediation company which will prepare a remediation plan for you. Submit this remediation plan to the competent authority for approval. Upon agreement, the remediation company can begin work. Remediation can be very invasive, but it doesn’t have to be. Remediation is often done by excavating 1 meter deep and applying new clean soil. We call this a living layer. However, remediation can also be done by simply paving or tiling the contaminated area. What action is taken should be in the remediation plan.
Step 5 – Remediation Evaluation.
After remediation, test samples by drilling should again take place on the plot. This in turn creates a report called a “remediation evaluation. This should then conclude whether the soil is sufficiently cleaned up or not. In other words, whether the remediation was successful or not.This remediation evaluation should be sent to the competent authority. If the remediation was to apply for an environmental permit for a major renovation, for example, then successful remediation is a requirement.
If it turns out that residual contamination is still found after remediation during the remediation evaluation, then in principle the remediation will not be approved by the competent authority.
Step 6 – Registration
Both the exploratory investigation, the BUS notification and the remediation evaluation are stored in the competent authority’s Soil Information System and have thus become publicly visible. For example, buyers of your home in the future can also see that you have remediated.
Additional Information
It may also be that the competent authority imposes an order on you from the Soil Protection Act for mandatory remediation. This disposition is then registered with your property in the land registry, making it publicly available. For example, (prospective) buyers of your home can see that there is an order to remediate the land. It may also be that your plot contains contaminated soil, it does not need to be remediated, but there are use restrictions due to this contaminated soil.
Need help?
Are you sitting with an issue on a piece of property. For example, do you want to be sure if the soil is clean and want to have a remediation or maybe just a soil test done? As a nationwide real estate agency, we have several good environmental maintenance agencies sitting throughout the country that we work with. If you would like to get in touch with one of these consulting companies in your area, please fill out this form and we’ll put you in touch with them (free service from us).

